A Beginner's Guide to UK Beach Safety Flags and Rip Currents
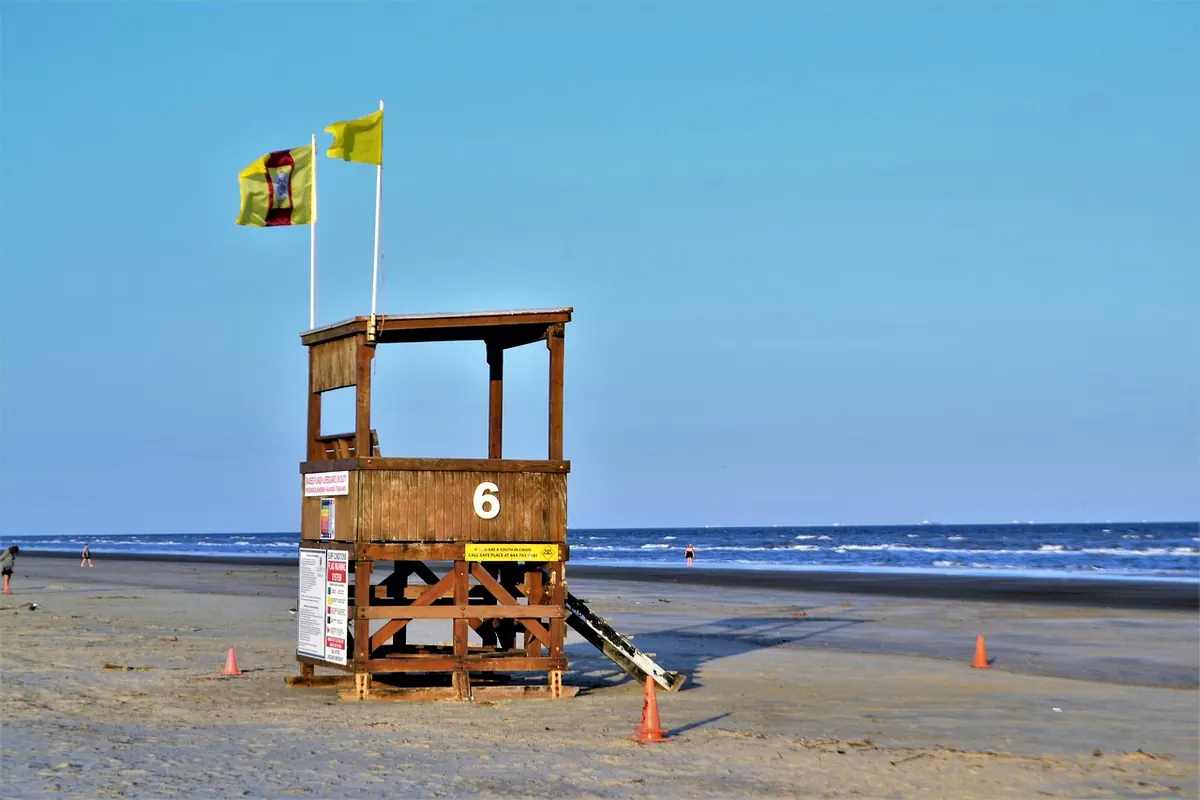
A green flag, a yellow flag and a red flag fluttering from the same pole looks a bit like somebody has mixed up the washing. On a busy August afternoon at a beach such as Perranporth or Whitby, those flags are the most useful thing on the sand. They tell you where the lifeguards want you, where the water is beyond your ability, and which stretch of sea to avoid altogether.
Rip currents are the hazard that catches people out most often — not because they are invisible, but because they usually look like the calmest patch of water on the beach. Here is what each flag means, how to read the sea for a rip, and what to do if one takes hold of you.
Flags only mean something while lifeguards are on duty
Beach flags are a conversation between you and the lifeguards. No lifeguards, no conversation. On many UK beaches the seasonal service runs from spring into autumn, and on smaller or quieter beaches it may run only at weekends and during school holidays. Outside those hours the flags come down.
An empty flagpole is not a sign that the beach is safe. It is a sign that nobody is watching it. Look for the noticeboard near the top of the beach or the lifeguard hut, where patrol times are usually posted. If you arrive as the flags are being packed away for the day, treat that as your cue to stay in the shallows or come back tomorrow.
What each beach safety flag means
Flag systems vary slightly between countries, but around the UK coast you will meet the same handful.
- Red and yellow flags — the swimming zone. Between these two flags is where lifeguards want swimmers, bodyboarders and anyone on a non-powered craft. They position it over ground they know, with currents they have already checked that morning.
- Green flag — conditions are calm. It still means a supervised area, not an unsupervised free-for-all for weak swimmers and small children.
- Yellow flag — caution. Expect stronger currents, bigger swell or a more difficult sea. Fine for confident, capable swimmers; not the day to introduce a nervous beginner to open water. Ask the lifeguard if you are unsure.
- Red flag — no swimming. Conditions are dangerous, or there is pollution, or the area is not patrolled. Nobody has ever won an argument with a red flag.
- Black and white chequered flag — surfcraft only: surfboards, kayaks, paddleboards. If you are swimming, stay clear of this zone.
- Orange windsock — offshore wind. Inflatables such as rings, lilos and cheap dinghies should stay in the bag. Offshore winds push anything floaty out to sea alarmingly fast, and even paddleboarders need to think hard.
The Blue Flag is not a safety flag
A Blue Flag at the entrance means the beach has met recognised criteria for water quality, facilities and environmental management. That is genuinely useful information. It tells you nothing at all about the swell, the tide or the currents today.
How to spot a rip current
Rips form when the water that waves have piled up on the beach finds a route back out to sea. That route is often a gap in a sandbar, or a channel alongside a groyne, pier, harbour wall or rocky headland. Rips are narrow, they run seaward, and they move considerably faster than most people can swim.
From the sand, a rip frequently looks like the easiest place to get in. Take two minutes to check for:
- a gap in the line of breaking waves, where the rest of the beach is a wall of white water;
- a channel of darker water, because deeper water reflects less light;
- a strip of unusually smooth, rippled or disturbed surface while the sea either side looks different;
- foam, seaweed or litter being carried steadily away from the shore rather than rolled in;
- sandy, churned-up water close in that clears further out, as sediment is dragged offshore;
- water piling up and moving quickly around the end of a groyne or the base of a cliff.
Judging this from a promenade, a dune or a raised path is far easier than from waist-deep in the water. Watch the sea for a few minutes before you commit, and watch it again after you have been in for a while — rips shift as the tide moves.
What to do if you are caught in a rip
Rips rarely pull you under. They pull you out, and panic does the rest of the damage. If you feel yourself being carried away from the beach:
- Do not try to swim straight back to shore. It is the natural instinct and the quickest way to exhaust yourself.
- Float on your back. Lean back, spread your arms and legs, tilt your chin up and breathe. Float first, plan second.
- Signal. Raise one arm and shout if you can. Someone on the beach may already be calling for help.
- Swim sideways. If you are a confident swimmer, go parallel to the beach until the pull eases. Rips are usually narrow, so this rarely takes long.
- Work back in with the waves. Once out of the current, swim diagonally towards the shore, letting broken waves help push you in.
- If nothing is working, keep floating. Most rips weaken beyond the breaking waves or curve back towards the beach. Conserve your energy and keep signalling.
If your feet find the bottom and the water is only waist deep, wading sideways out of the flow is often better than swimming. Deeper than that, stay on your back. Do not try to grab a groyne or a rock in fast-moving water.
If you see someone else caught in a rip
Going in after them is the fastest way to turn one casualty into two. Stay on the beach and:
- call 999 or 112 and ask for the coastguard;
- shout clear instructions — "float on your back, don't swim against it";
- throw them anything buoyant: a life ring, a fender, a cool box, even a bodyboard;
- keep your eyes fixed on them so you can give the coastguard a running commentary;
- alert a lifeguard immediately if there is one nearby — they will reach the casualty faster than anyone else.
Small habits that prevent most incidents
- Swim between the red and yellow flags whenever they are flying.
- Check tide times before you settle down for the day. Tides come in around headlands and cut off beaches with depressing regularity.
- Give groynes, piers and harbour walls a wide berth; they create the currents that cause trouble.
- Keep small children within arm's reach and in water they can comfortably stand up in.
- Leave inflatables at home when the orange windsock is out.
- Never swim alone, and never swim after drinking.
Before you get in
Find the flags, note the patrol times, watch the water for a couple of minutes and pick the calmest route in rather than the most convenient one. If you are unsure about your swimming ability, or you have a health condition that affects it, speak to your GP or a qualified open-water coach before tackling the sea.
That is five minutes of preparation. In return you get an afternoon in the water that you can actually enjoy, rather than one you spend hoping nothing goes wrong.
Photo: ArtisticOperations / Pixabay